
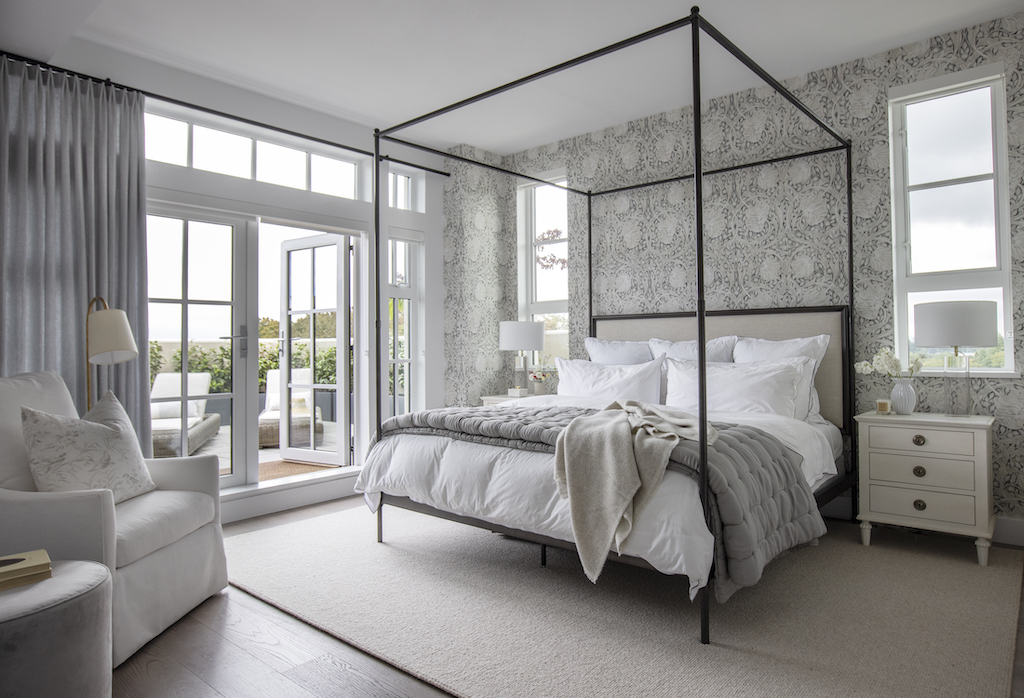
Featured images from the Provence Penthouse, click here to see the whole home
The ultimate guide to what you need, how to layer, and where to put all of the pillows.
New year, new bedding! January has historically been the month to watch out for white sales, or bedding promotions from many retailers. I think it’s the perfect time of year to take care of your most comfortable space, and refresh your room for a new year ahead. Let’s start with the basics in Bedding 101 so you know every piece you need to make the perfect bed, no matter what your style or budget may be.
WHAT YOU NEED
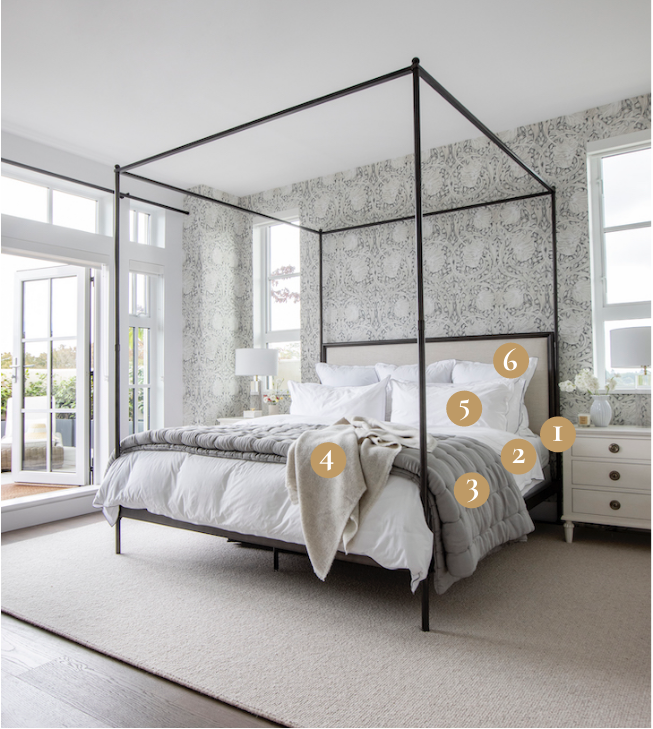
Vocabulary can be the biggest hang up when adding new bedding to your cart. It’s easy to get the wrong size, or an unexpected shape if you’re not used to the language required for each piece. Here are the key pieces I used for almost every bed:
No.1 SHEETS
- The first layer of your bed, a bottom sheet covers the mattress and has elastic in the corners for a tight fit. The top sheet is a simple rectangle with a more prominent seam at the top edge.
- Often top and bottom sheets are sold in a set with the two matching pillowcases so you have an all in one solution for the basics.
No.2 DUVET COVER
- Protection for your duvet, this is a cover to slip your down or alternate insert into. It might have a zipper or buttons on the bottom edge. Ideally look for ties inside each corner to secure your duvet in place.
- Depending on where you are shopping, duvet covers can sometimes be sold in a set with the matching shams. If its an option this is an easy way complete your look.
No.3 QUILT
- A quilt is an all in one blanket where the filling and the cover do not separate and it is still sized according to your bed size (twin, queen, king). The perfect extra layer to keep your feet warm or pull up on a chilly night.
No.4 THROW
- Another type of blanket, smaller and thinner than a quilt. You can use this in any room of the house for a little extra coziness.
No.5 PILLOWCASES & SHAMS
- Pillowcases are basic open ended cover for the pillow you lay your head on to sleep.
- Shams are a case that is sewn all the way around, often with some extra fabric detail (called a flange) along the edges. To get the pillow in , there usually a center opening in the back, sometimes with buttons.
- Pillowcases are typically sold in a set of two, but pillow shams are almost always sold individually. Watch out for this when your ordering to make sure you have enough!
Shopping Tip: Both of these kinds of cases are sized to match your bed and pillow inserts. If you have a king bed, it’s a good idea to get the larger king pillows to suit, which means you need king sizes pillowcases and shams for a proper fit.
No. 6 EURO SHAMS
- These are the same style as standard shams, but in an oversized square shape.
- Euro shams are always sold individually so you can control how many you want to suit your bed size. I like to use 3 for a king, 2 for a queen and 1 for a twin.
HOW TO LAYER
Now that you know the pieces you need you can layer your new bedding into the perfect bed. To start, put on the bottom sheet and top sheet, folding the top sheet back about 1/4 the length of the bed. Enough space to get in, and to show off the seams of your new top sheet. Then add the duvet cover, folding it back a bit further than you did the sheet — the goal is to see the both details, not cover up the sheet fold back you just did. Now add the quilt on top. It can be folded in half, or thirds. From here you could add a throw blanket for the ultimate finishing touch. You can truly throw it onto one corner of the bed. If you have to adjust it a few (read hundred) times to make it actually look effortless, you are not alone!

Pillows, pillows, pillows
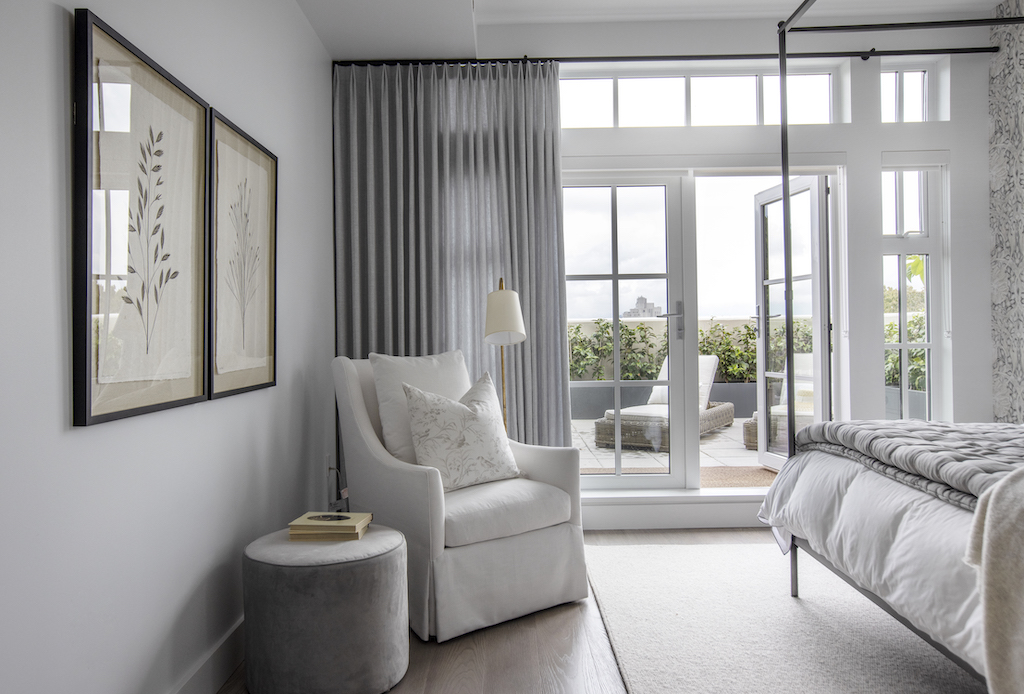
A topic of much debate in many households, the art of layering pillows gets its own section in Bedding 101. As shown above, the most basic way to layer your pillows is to start with the Euro’s at the back, against your headboard. Then place the pillowcases, open edges out, and add the pillow shams in front. They could also be on top if you prefer to stack your pillowcase and sham pillows for something a bit more mod. The final touch (not shown here) would be decorative pillows. It where you could add an extra pop of colour or pattern with another 1 or two cushions if you need some extra style. This bedroom didn’t need them since we we were going for a more serene look against the statement wallpaper.
Extra Credit
On the weekend, in your guest bedroom, or if your bed is visible from other rooms in your home, it makes a huge difference to add a few extra details for the most perfectly made bed. For extra credit, try these tricks:
- Put your top sheet on with the nice side down. Then when you fold it back, the nice side will be facing out, showing off any special seam details or coloured edges.
- Tuck in the duvet at the end of the bed only, especially if you have a pretty bed frame to show off. Tuck in all of sides of the duvet if you prefer the most tailored look.
- Iron everything! Its painfully time consuming, but there’s nothing that looks and feels more like a luxe hotel (and your local laundromat can likely take care of it instead).
Inspired to upgrade your bed? Browse some of my favourite collections online or in store at Restoration Hardware, The Cross, Hudsons Bay and Pottery Barn for every piece you need to make the perfect bed.


[…] to upgrade your bedding essentials? Continue reading with my Bedding 101 post for every piece you need to make the perfect bed. Then shop Homebird for my favourite bed linens to […]
[…] sure how to make the perfect bed? Take a look at my Bedding 101 post for everything you need to get […]